Create a Resource in Azure Portal
Set up the Napster API resource in your Azure subscription
This guide walks you through creating a Napster API resource in the Azure Portal. Once created, the resource links your Azure subscription to the Napster API platform.
This is the path for billing through your Azure subscription. If you don't need that, the fastest way to get access is signing up directly at napster.com/developer — no Azure required.
Open the Azure Portal
Go to portal.azure.com and sign in with your Azure account.
Search for Napster API
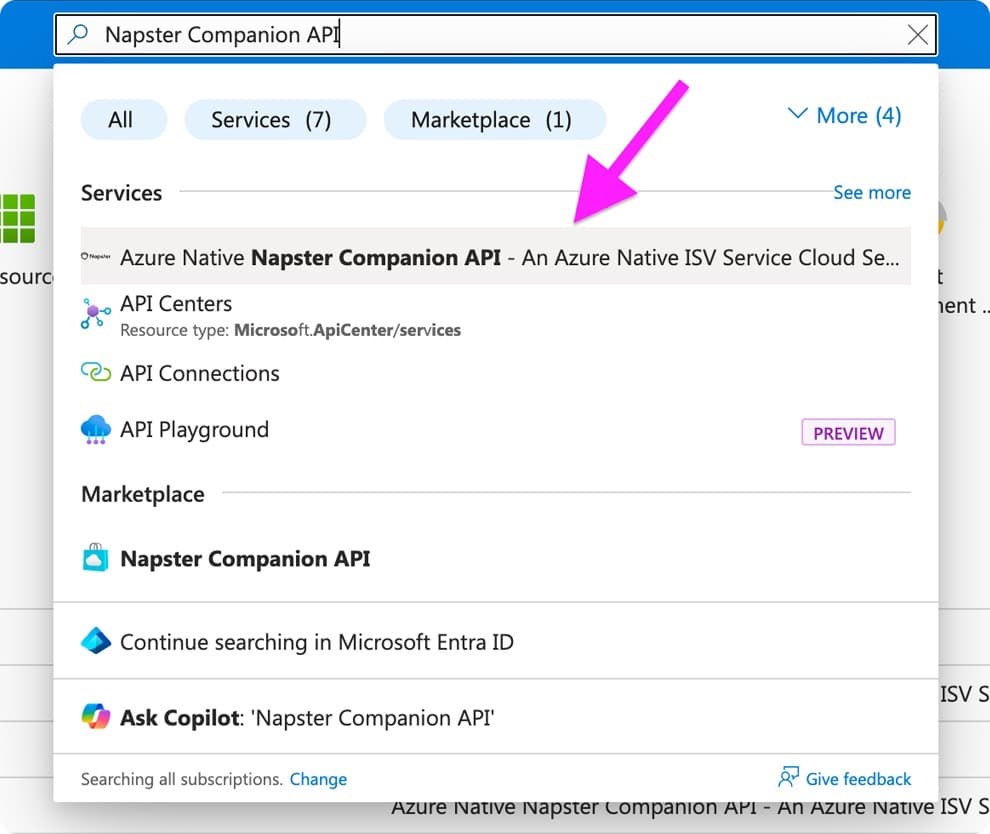
In the search bar at the top of the page, type Napster API. From the results, select Azure Native Napster API - An Azure Native ISV Service Cloud Service under Services.
Create a new resource
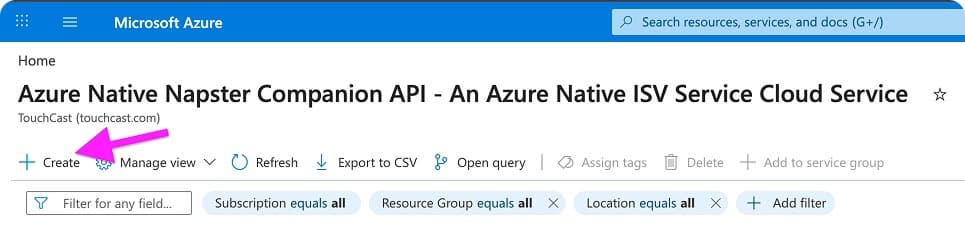
You'll land on the Napster API service page. Click the + Create button to start setting up a new resource.
Configure the resource
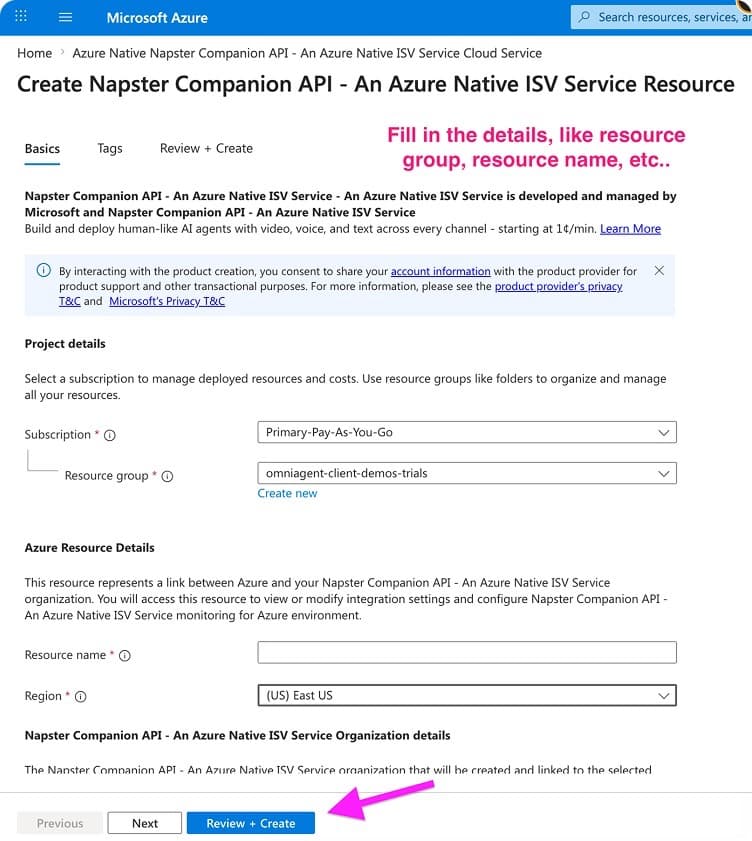
Fill in the resource details:
- Subscription — select your Azure subscription
- Resource group — choose an existing resource group or create a new one
- Resource name — give the application a name
- Region — select (US) East US
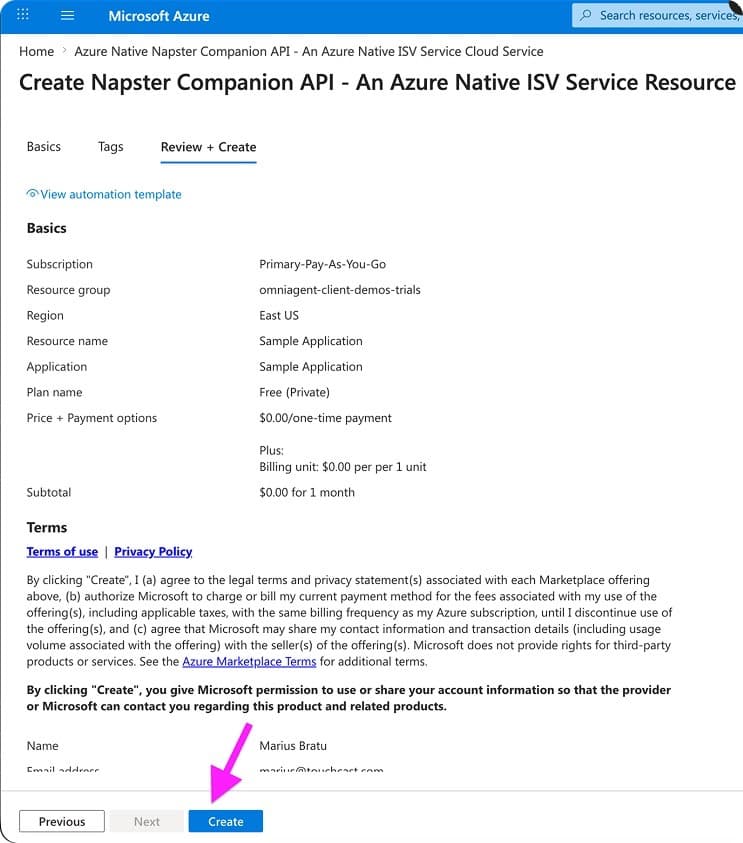
Once everything is filled in, click Review + Create.
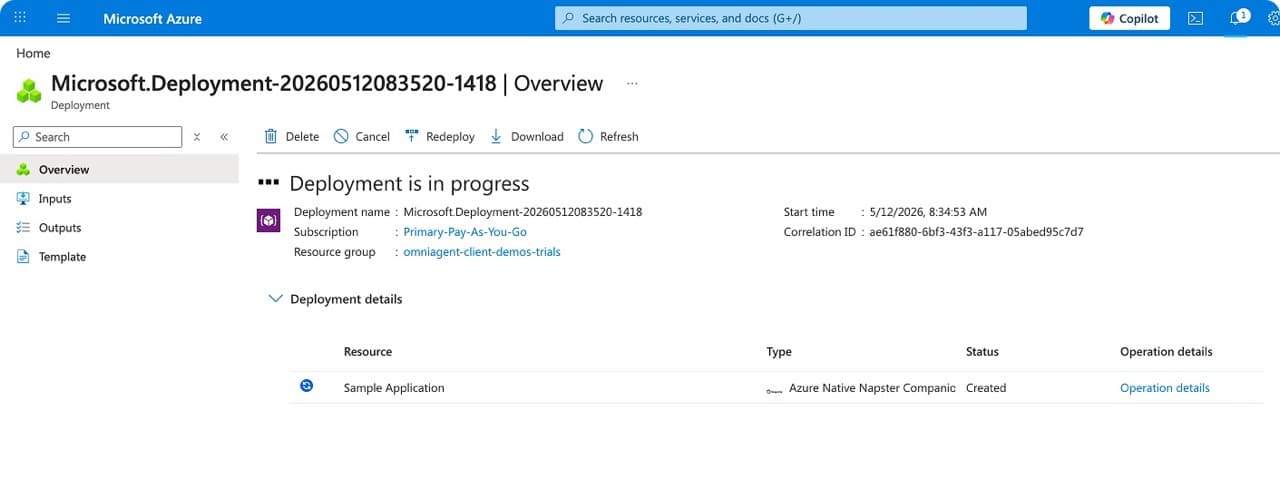
Go to the resource
Once the deployment completes, click Go to resource to open your new Napster API resource.
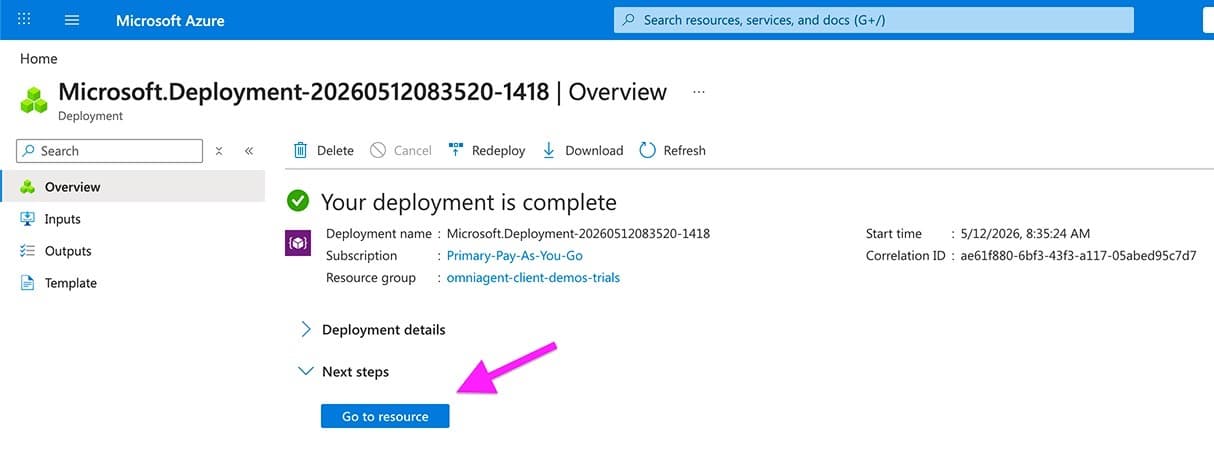
Go to the Napster API dashboard
From the resource page, click Go to Napster API to open the Napster API dashboard.
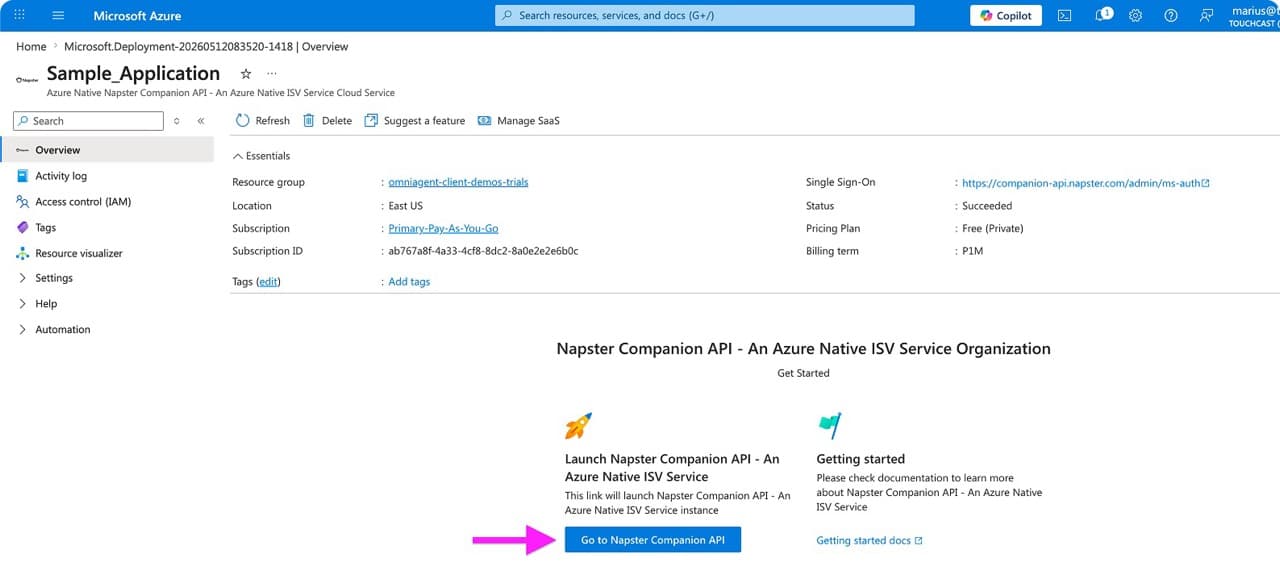
You're in
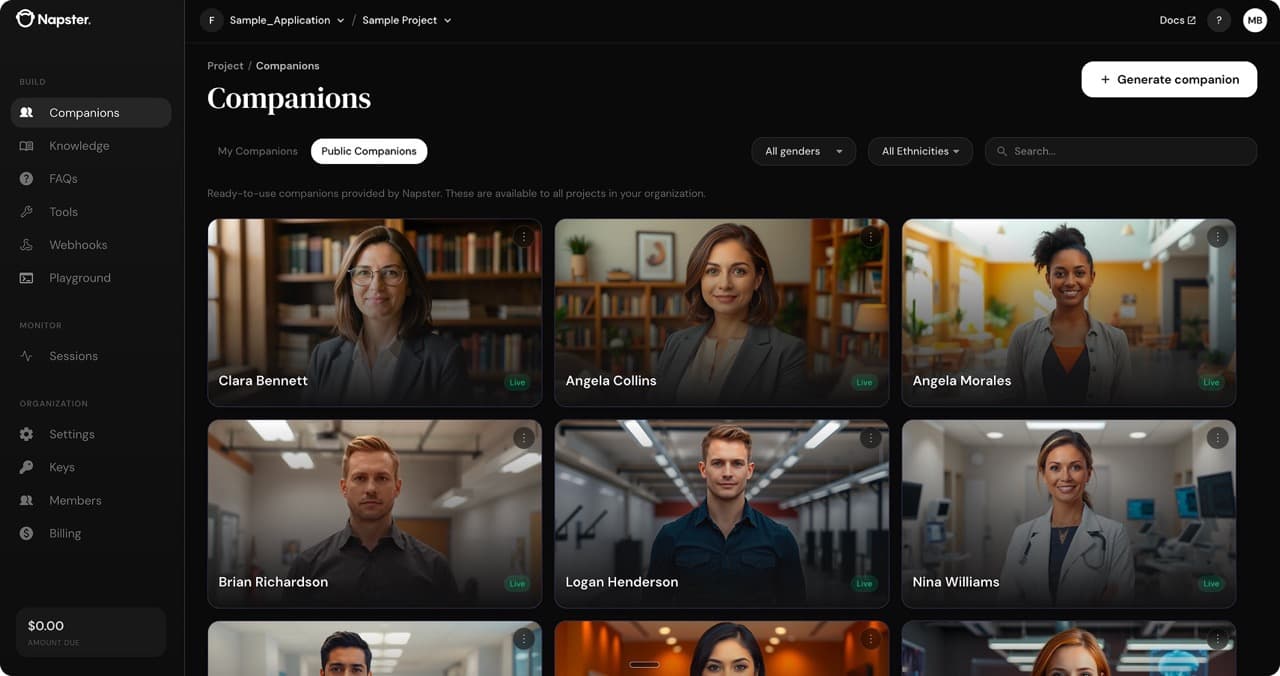
You'll land on the Napster API dashboard. From here, you can browse companions, set up knowledge and tools, create API keys, and test your agent in the Playground. Follow the Quickstart to build and deploy your first Omniagent.
Keep your subscription active
A subscription created this way is a 1-month subscription with auto-renew off by default. When auto-renew is off, the subscription — and your access to the Napster API — expires on the renewal date and the service is cancelled. Turn auto-renew on to keep the service running. You can only change this setting while the subscription is active; if it has already expired, follow Re-enable an Azure Resource to restore access to your existing resource.
The auto-renew setting lives on the SaaS subscription, which is separate from the resource you opened with Go to resource. To turn it on:
- In the Azure Portal, type
SaaSin the global search bar at the top and select SaaS under Services. - Find and select your Napster API subscription from the list.
- On the Overview (Product and plan details) page, find the Auto-renew column — it shows
Auto-renew: Offand the expiry date. Select the Edit Auto-renew link (or the Edit Auto-renew button in the top command bar). - In the side panel that appears, switch auto-renew On, then select Update.
The Auto-renew column now shows the renewal date instead of an expiry date.
The Edit Auto-renew option only appears if you have Owner or Contributor permissions on the subscription. With read-only access, ask whoever holds the Owner role to make the change.
Common errors
The plan can't be purchased using a free subscription
If you select a free Azure subscription when configuring the resource, creation fails with:
The plan 'napster_companion_api_feb_2026' can't be purchased using a free
subscription. Please select a different subscription and try again.
There's no charge for the plan itself — you're only billed for usage, such as running agents — but Azure still requires a billable subscription to complete the purchase.